My secondary school, which I attended from 1976 to 1980, had a particularly well-stocked library. Being the nerd that I am, I was drawn to the 20th century history section, avidly reading all kinds of works on the Second World War. It was in this library that my lifetime obsession with the Battle of Britain was born. But, there was also another book that caught my attention.
All these years later, I cannot recall the title, author or publisher. Occasionally, I try to search the internet for likely volumes, but to no avail. All I remember is it was hardback, printed in full colour throughout, and consisted of wonderful photos. The thing was, the photos were all of scale model aircraft, set in detailed realistic dioramas. It was utterly fascinating.
The memory of that book – despite my own utter failure to recall the salient facts! – has been with me ever since. I have tried many times to plan and build small scenes in which to display my models, always with a view to photography. My aim has always been to create a scene that, when photographed skilfully, fools the viewer into thinking they’re looking at a real full-sized scene.
The problem is my scene needs to be easy to set up on a workbench when needed, but also easy to pack away for storage. Not for me the luxury of a permanent set I can leave ready for use.
I need an Instant Pop-up Universal Airfield.

I started with a roll of that model railway flock paper with lurid green grass which I glued to a large sheet of foamboard. It looked artificial no matter what I did. The grass was too uniform, the “field” utterly flat, like a billiard table. Models posed on it looked like they’d landed on a bowling green.
What I needed, to represent a typical wartime airfield, was something more patchy. Airfields around the start of the period I’m interested in rarely had permanent tarmac or concrete runways. They were large open grassed areas, as flat as could be found, but often with undulations and bumps.
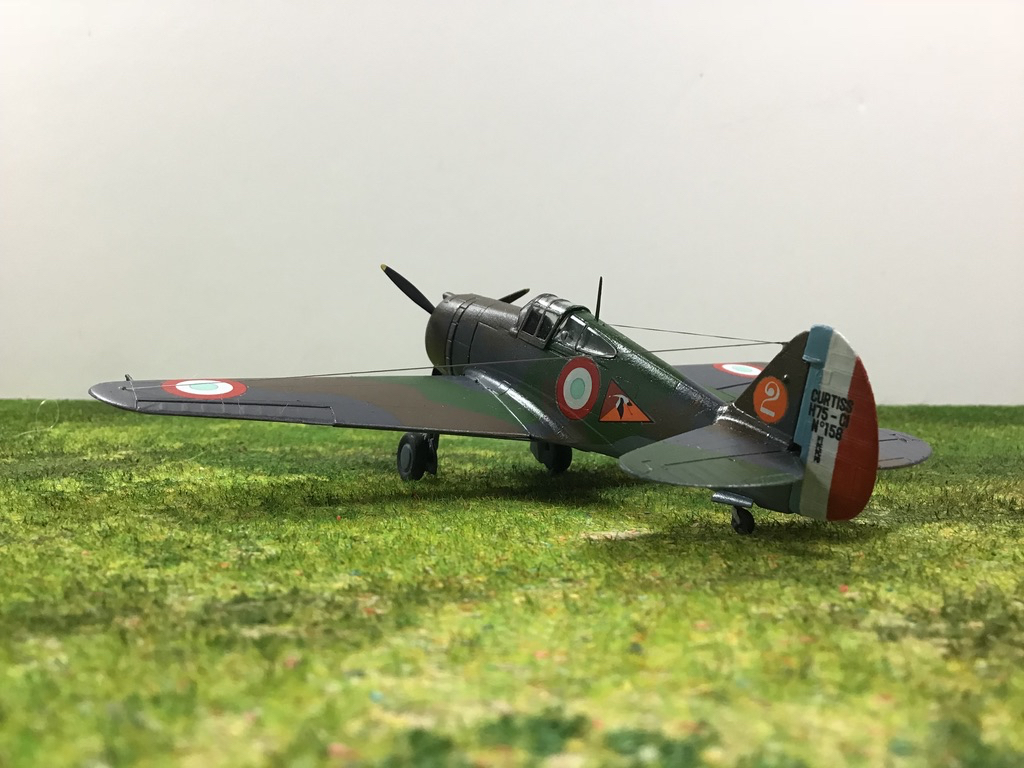
I set about the lurid grass with various sharp implements, then daubed various colours around to tone things down a notch and break up the monotony.
It didn’t really improve things. It was still too bright, even though the original grass sheet wasn’t far off the colour of fresh new grass on a sunny day.
One Christmas I decided to try harder. Having shared a model railway habit with my husband, between us we had acquired various scenic concoctions. The stores were raided, I turned up some acrylic artist’s paints, some household emulsion tester pots in earth colours, and various flocks and foam-based materials that might represent grass.
I was in my element. Off came the lurid and ragged grass. I love making a freelance mess, just slapping paints about in a fairly random fashion to give an earthy-browny-greyish-greenish sort of base layer. Just for fun, I also added a bit of asphalt roadway across a corner of the foamboard. Next, out came the PVA glue and the flocks. More mess.

It was left to dry. I forgot that when the paint and glue had dried it would tend to shrink a little, so the board took on a slightly dished form. Too bad, I’d have to live with it.
It worked for me, but there was something missing. I needed a backscene, something to hide whatever was behind the base board, and to imply the rest of the world.
Some years previously I’d found a location near where I live that overlooked a farmland valley. I took photos of the scene, and used software to stitch them together into one image. It was gently rolling farmland, with hedges and tree lines. I changed the blue sky with clouds to a light grey, almost completely white. My idea was to have a landscape backscene that was faded into haze, so it looked a long way off.
I could only print to A3 sheets, and no matter how careful I was sticking the scenery to foamboard, there was often a visible vertical join – and it always got picked up under my studio lights. I was resigned to post-processing images to remove the ghost line.
Eventually, I told myself, I would seek out a poster printing company that could reproduce the backscene image in one piece.

Meanwhile, I merrily set little vignettes up on the rough curly green board, propping the flawed backscene board behind, and taking photos of my models. It was okay, but something kept nagging. It was the way the world stopped at the backscene with a straight edge. It looked wrong, obviously.
I mulled this problem over for some time.
I decided to try to flatten the base board. With some offcut strip wood left over from a previous project, I made a horribly crude frame. I then pinned the board to it. Foamboard isn’t really ideal material for this, but eventually it was fixed to the frame, more or less flat at last.
At some point, I should get a sheet of plywood or particle board to use as the base. That might cause problems, though, as some of the tiny figures I use have wire pins in their feet that I use to push into the foamboard so they stand up…
The problem of the straight back edge still had to be resolved. I spent many happy hours studying the scenery in period airfield photos to get some feel for how things looked back then.

I bought a laser cut card kit for wooden fencing and gates. At first, this was going to be the only scenic break, but I decided it would be better to build up the flat board where the break would be. It’s an old model railway trick, and it worked well.
Some balsa wood sheet was hacked about to give a slight bank. This was smoothed into the general scene with lightweight filler, coloured with acrylic paint so if it got damaged it wouldn’t show a bright white spot.
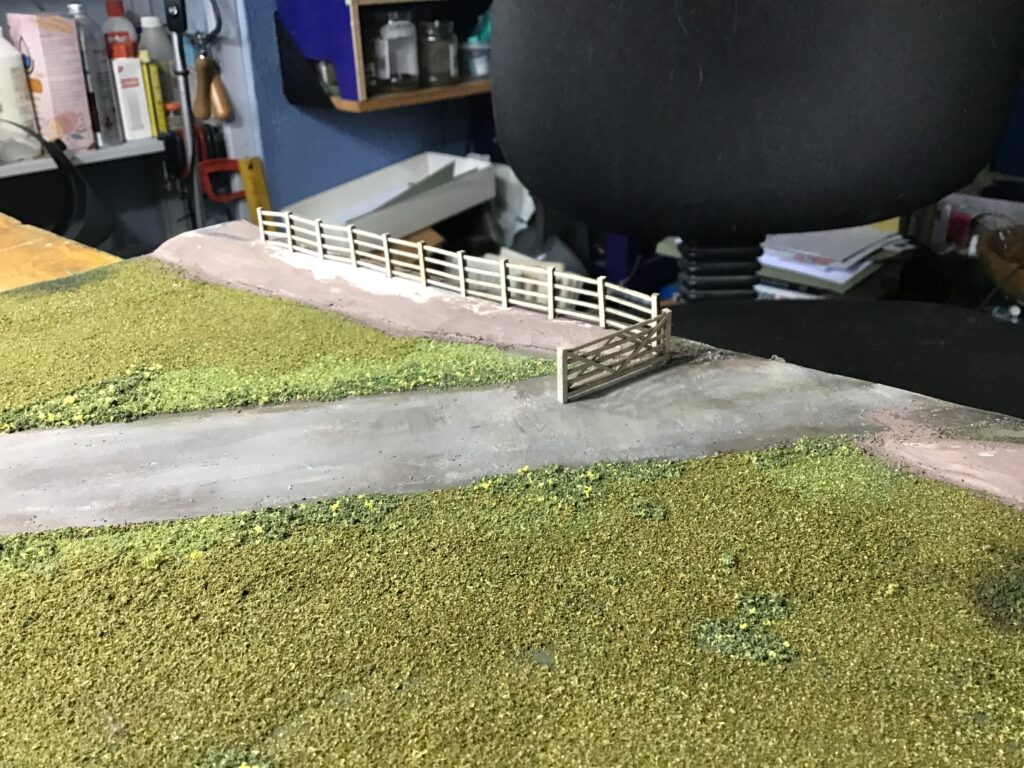
The fence was built, and fitted into holes in the balsa. The gates were posed where the roadway crossed the fence line. I decided not to make fence all the way along the back, but to switch to rough hedge part of the way.

More old school model railway scenics came to the fore. Rubberised horsehair, which came in strips, was mangled about to give the core of a hedge. It was sprinkled with various green flock materials, fixed with spray adhesive. The “hedge” was glued to the balsa bank with a hot glue gun. Other scenic materials were applied to give the impression of a bramble bush. The ground around the hedge and bank was repaired with the same flock colours I’d used on the original base board.

A glorious mess, but it actually looked okay. A quick test shot with a model proved my point.
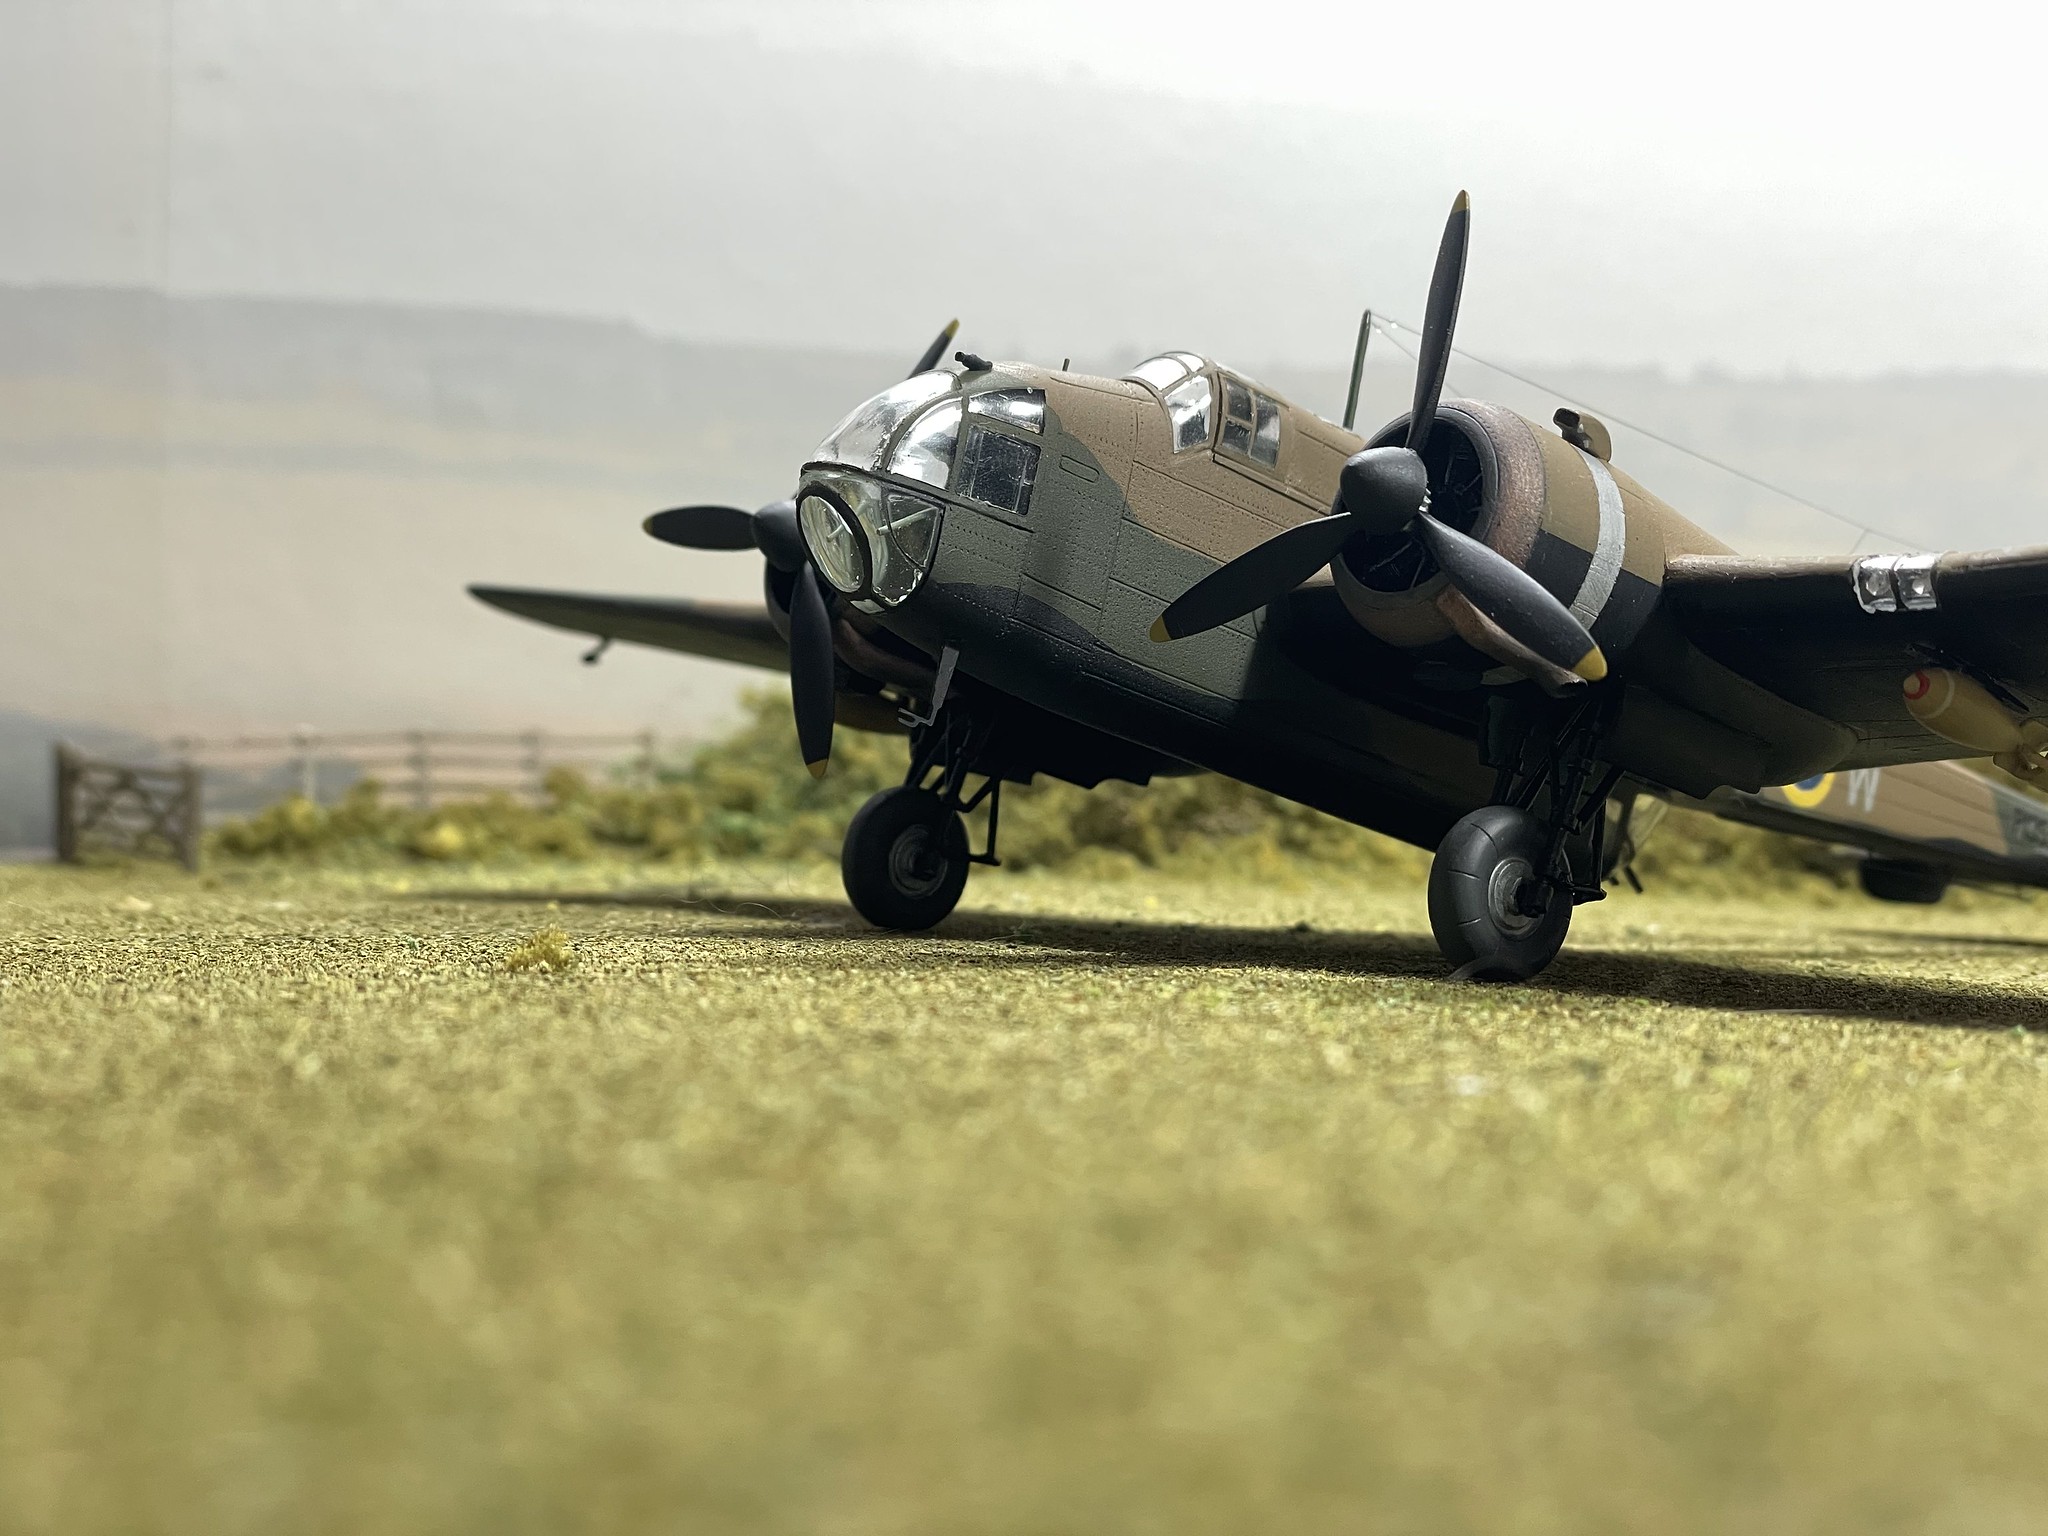
The next thing was to get the backscene photo printed on a single sheet of material. This was done a few weeks ago. Now, all I need to do is design and build some kind of fairly light self-supporting frame to which I can clip the backscene. It all still needs to be easily set up, but also easy to break down and store away when finished with.
That bit, I’m afraid, I am still to work on. Watch this space!
